How to Perform Tool Setting in CNC Turning? A Practical Guide to 3 Common Methods
 Dec 04 2025
In CNC turning, tool setting is a fundamental step that ensures accurate machining. Improper tool setting can lead to dimensional errors, tool collisions, and part failure. The goal is to align each tool's position with the machine coordinate system so that programs can execute accurately relative to the workpiece zero point (usually Z=0 and X=0).
Here are the 3 most common tool setting methods used in CNC lathe operations:
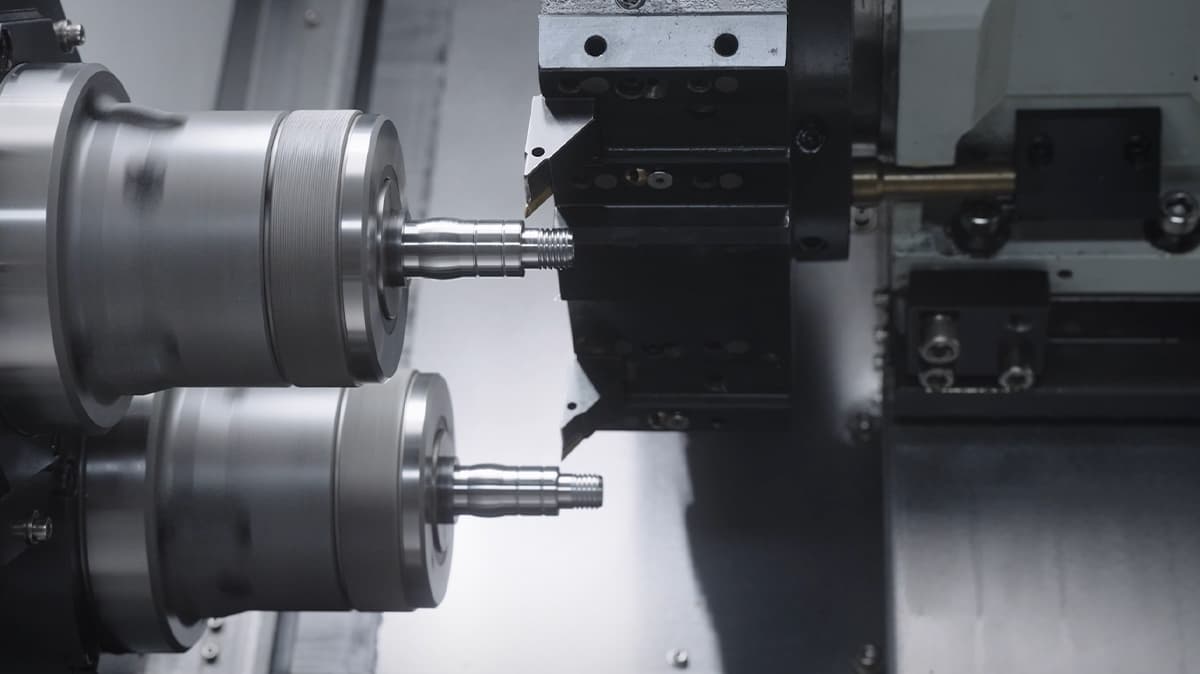
1. Manual Tool Setting (Handwheel Method)
This is the most common and intuitive method. The operator uses the handwheel to bring the tool close to the workpiece surface and sets the Z=0 position using a feeler, shim, or dial gauge.
Pros: Simple to perform, no extra equipment required
Cons: Prone to human error, requires operator experience
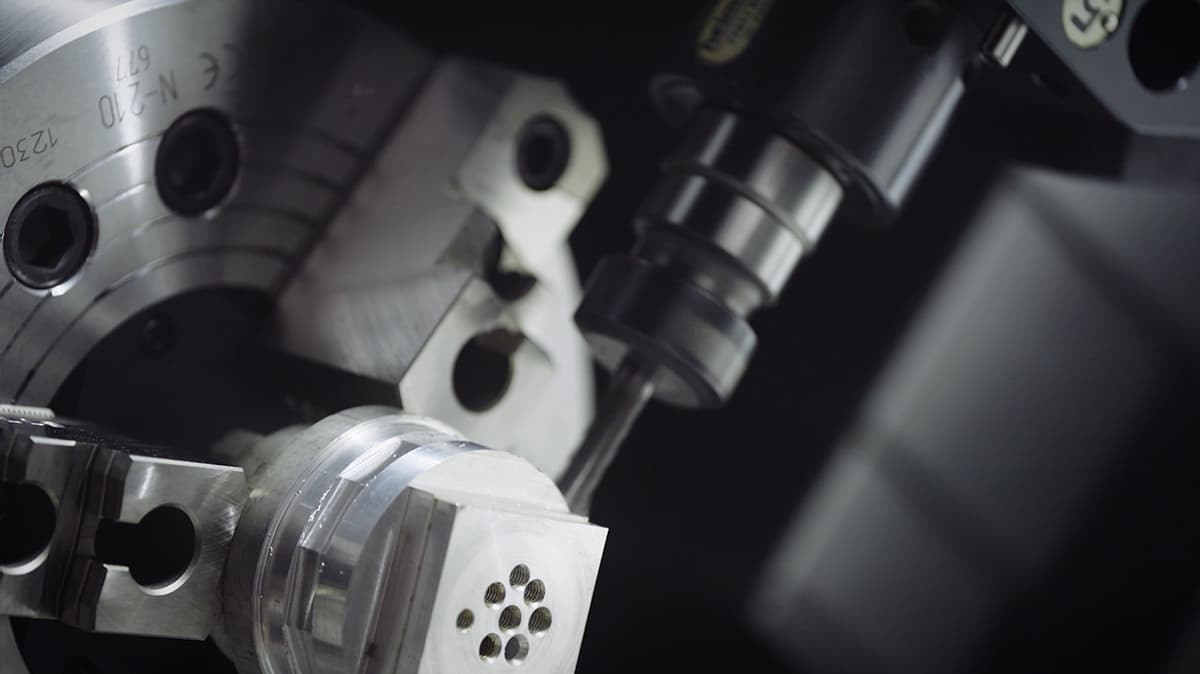
2. Automatic Tool Setter (Tool Touch Probe)
Using a tool setter installed on the machine (contact or laser type), the tool touches the probe, and the system automatically records the position in the controller.
Pros: High precision, fast, reduces human dependency
Cons: Requires additional equipment, higher cost, needs regular calibration
3. Actual Cutting & Measurement Compensation
This method involves cutting the workpiece with each tool, measuring the resulting dimension, and applying the offset correction to the tool compensation value in the controller.
Pros: Highly accurate since it's based on real cutting conditions
Cons: Time-consuming; must ensure cutting conditions during testing match the actual program settings to achieve consistent results
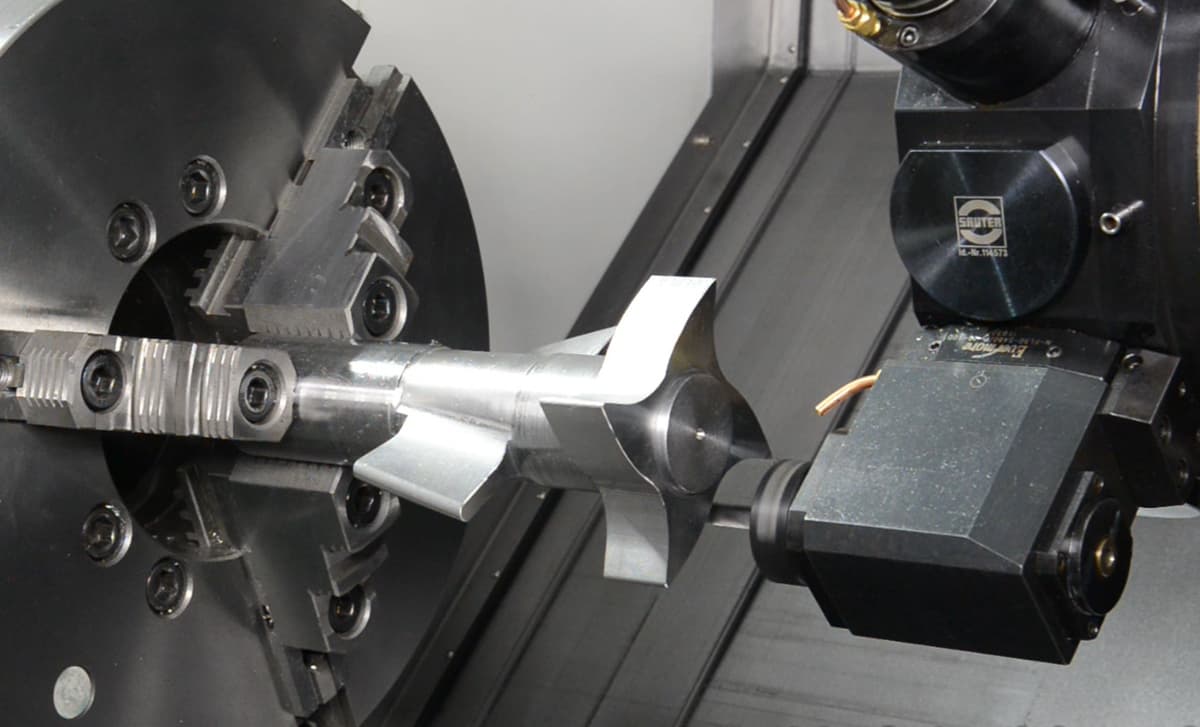
Force One’s FCL series CNC lathes support all of the above tool setting methods and can be equipped with:
- Manual tool setting interface (standard feature of CNC controllers)
- Automatic tool setter (Renishaw or other brands)
Based on the machining task and shop conditions, Force One recommends beginners start with automatic tool setting to improve consistency and productivity.
Conclusion: Whether using manual or automatic methods, the ultimate goal is consistency and repeatability. Keeping a tool setting log and regularly checking the probe calibration and zero point alignment helps maintain long-term machining stability.